
Fig 1: A guide bump, for lining up the front and back of the mould.
Crispin Sexi (Jaysen Ollerenshaw), September 2006.
I offered to make a pewter event token for the Politarchopolan Baronial Investiture of Alisandro & Isobel in 2006. The event steward was quite happy for me to take on the job, which she was otherwise going to have to design and get commercially made. She requested 200 tokens and that I incorporate the following items in the design:
That is a heck of a lot of writing for a token, but I said I'd see what I could do.
For inspiration I scanned through various source books for medieval trinkets, and eventually spotted a section on "spangles" in the Museum of London Dress Accessories book. The spangles were shaped like a small coin with a flange at the top, like a medal. The book cites examples from the late 12th century up to mid 14th century. While the book didn't draw many conclusions as to what spangles were used for, whether they were pilgrim tokens, heraldic symbols or just shiny decorations, the two holes at the top and the flat nature of the item make it a good choice for suspending from ribbon or sewing to clothing. More to the point the spangles were cast from pewter, and many had animals on the front - just what I was looking for.
My design for the event token incorporated a central griffin, encircled by the lettering "POLITARCHOPOLIS" and "ASXLI". The border was two circles with a row of dots, since both appear to be typical of the real spangles. On the flange at the top I put a row of vertical lines, fanning outwards to match the shape of the flange.
The reverse side of the original spangles was blank, but since I had run out of space on the front, I placed the initials E L A I on the back in gothic font to represent the four baronial people.
Fig 1: A guide bump, for lining up the front and back of the mould.
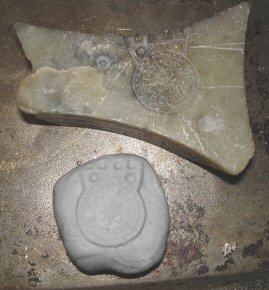
Fig 2: I used blutac to check the shape and pattern in the mould as I carved it.

Fig 3: The two halves of the mold. Writing backwards using a knife is a bit tricky. Also note that the two bumps to make the holes in the flange are sloped to prevent the metal grabbing hold of them as it cools and shrinks.
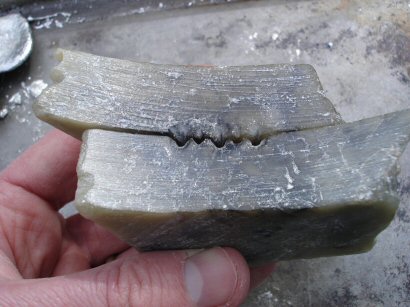
Fig 4: The two parts held together.
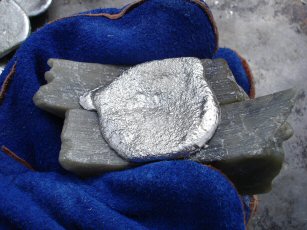
Fig 5: The cast. Note that the hand has two gloves on. I found I could cast about three times before the mould became too hot to handle even with two layers of gloves.
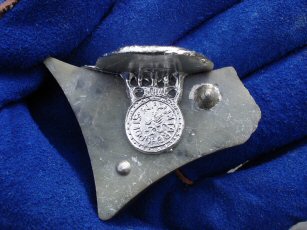
Fig 6: The cast, still in the mould.
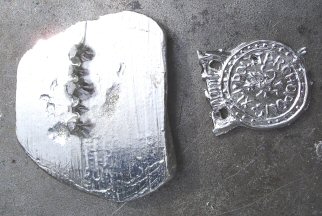
Fig 7: The cast with the blob cut off.

Fig 8: From left to right, different test casts as the mould is carved.
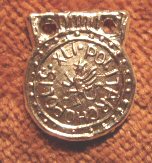
Fig 9: The front of the spangle.
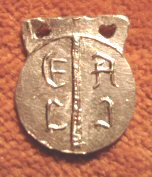
Fig 10: The back of the spangle.
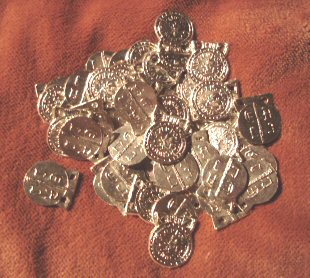
Fig 11: A pile of pewter spangles.
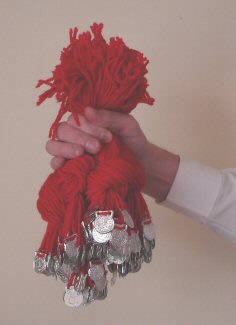
Fig 12: The finished spangles suspended on red wool.
Egan, Geoff and Pritchard, Frances, Dress Accessories c.1150 - c.1450, The Boydell Press, Woodbridge, England, [1991] 2002
Copyright Jaysen Ollerenshaw 2006. Free use for non-profit.
Joan & Crispin's Homepage: http://aelflaed.homemail.com.au/